Introduction: Desmontar Techo Volvo XR70
When performing maintenance or adjusting your car, especially a Volvo XR70, knowing how to dismantle specific components properly can be essential. One such crucial aspect for many car owners is understanding how to remove the roof or ceiling panel, referred to in automotive terms as the “headliner.” If you’re wondering how to go about the “desmontar techo Volvo XR70 process,” this article provides a step-by-step guide with essential tips to help you carry out this task effectively and safely.
Understanding the Need to Desmontar Techo Volvo XR70
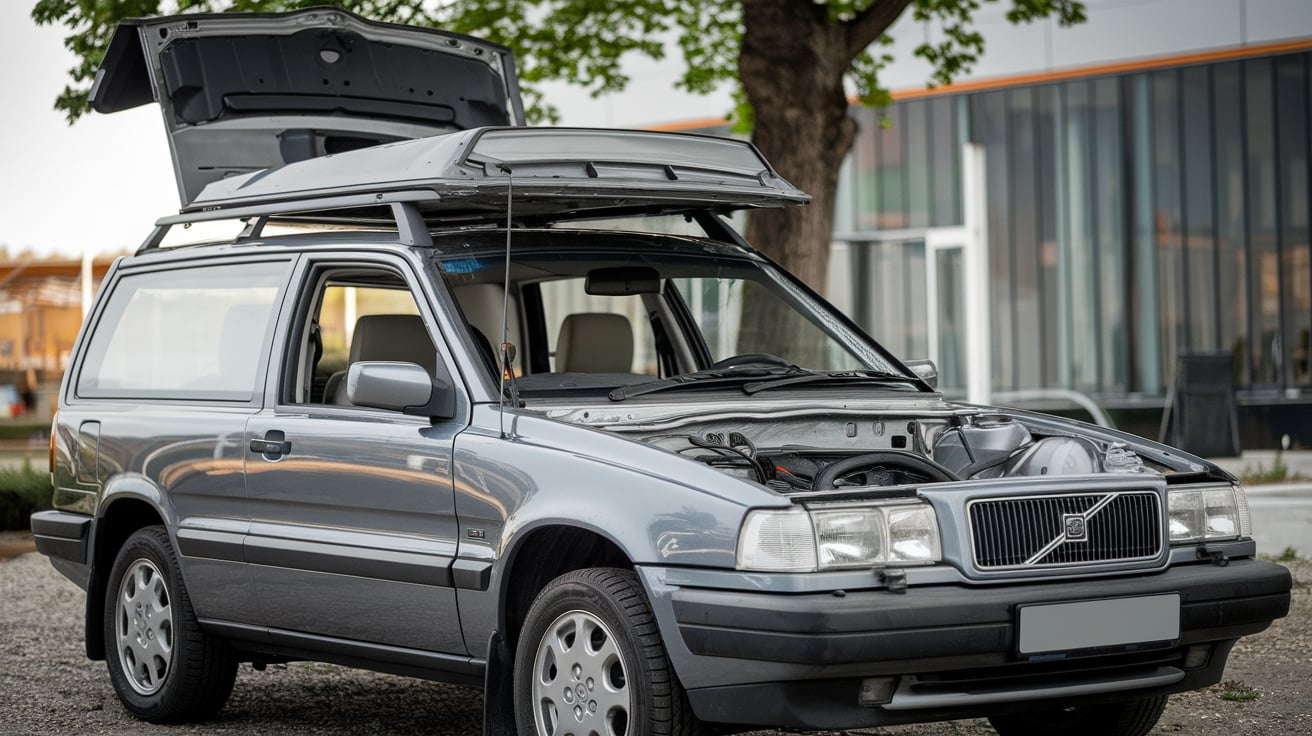
Before diving into the procedure, it’s essential to recognize why one might need to dismantle the roof of a Volvo XR70. Typically, the roof might need to be removed or adjusted due to leaks, headliner replacement, sunroof issues, or installation of additional components such as a roof rack or sound system. The ability to desmontar techo Volvo XR70 gives you greater access to your vehicle’s upper components and allows you to address any underlying issues that may require attention.
Whether your roof panel is sagging due to age or wear, or you need to access the wiring for the lights or sunroof, the process can initially seem overwhelming. However, with the right tools and a clear guide, it’s a task that can be managed with patience.
Tools Needed to Desmontar Techo Volvo XR70
The first step in any successful car repair or modification job is ensuring you have the right tools. For the job of desmontar techo Volvo XR70, you’ll need a few essential tools:
- Flathead screwdriver
- Phillips screwdriver
- Trim removal tool
- Torque wrench
- Plastic pry tool
- Socket set
- Protective gloves
These handy tools will make dismantling the roof much smoother and safer for your vehicle’s interior. Moreover, using plastic trim removal tools will ensure that you don’t damage any part of the roof lining or trims while working on the dismantling process.
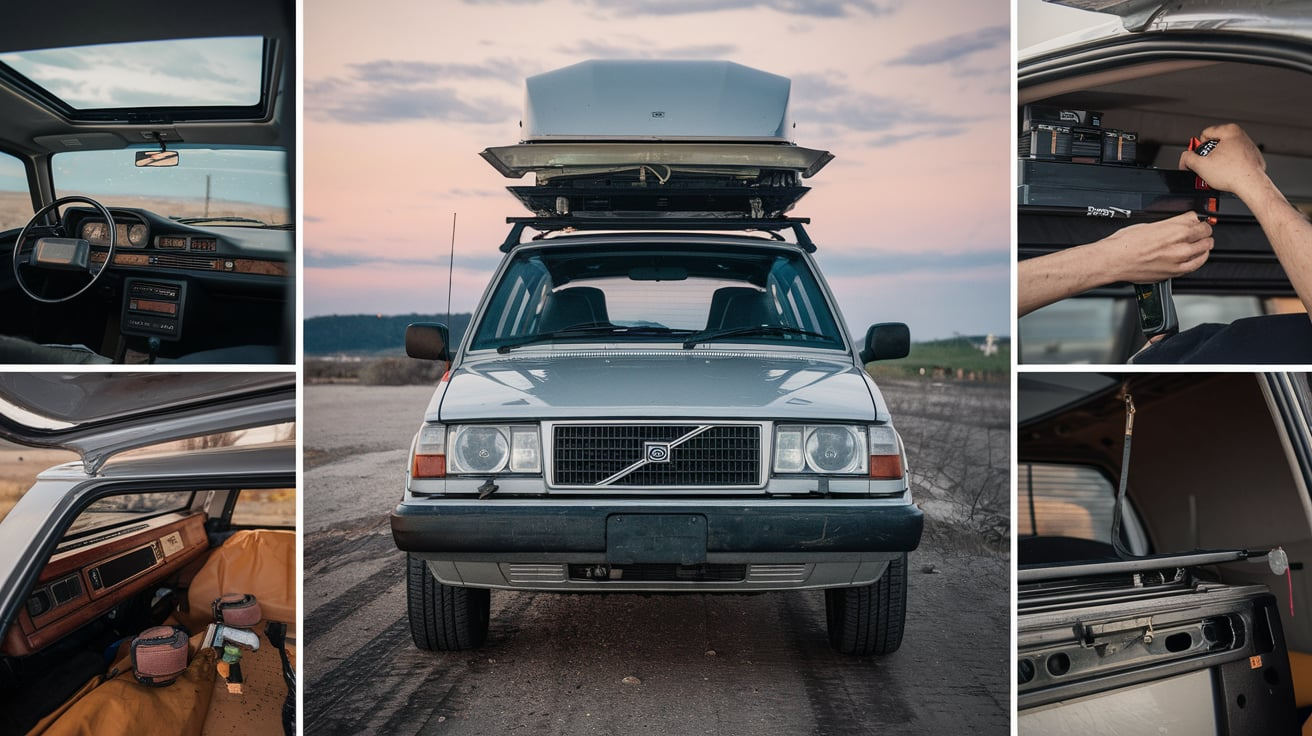
Preparing the Volvo XR70 for Roof Dismantling
Before dismantling the roof of your Volvo XR70, it’s crucial to prepare the vehicle. Begin by parking the car in a flat, stable location. Disconnect the car battery to prevent any electrical issues from occurring during the removal process, especially if you have a sunroof or overhead electrical components.
Next, clear out your car’s interior, especially the seating area, to give yourself ample space to work. Enough room allows you to easily maneuver the roof panel without risking damage to other parts of the vehicle. Additionally, it’s advisable to cover the seats and dashboard with protective cloths to avoid scratches and damage.
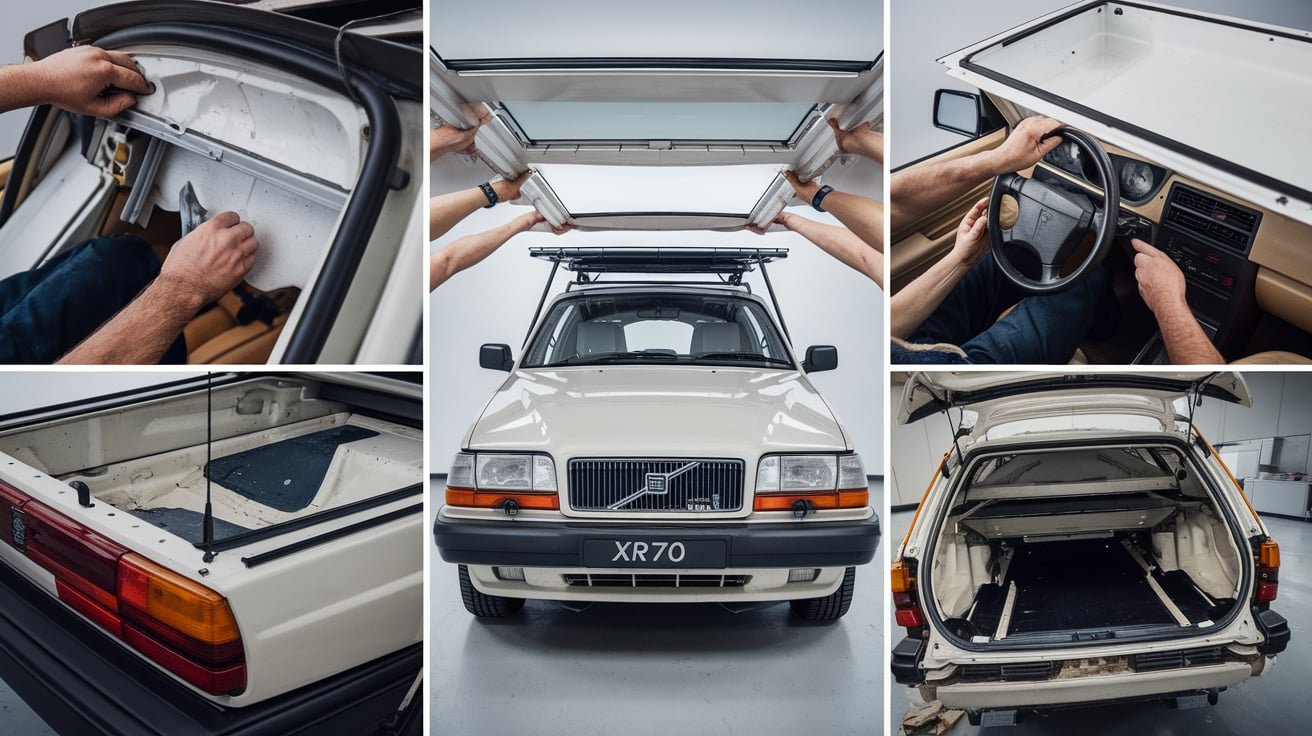
Step-by-Step Guide to Desmontar Techo Volvo XR70
Removing Interior Components
The first step in desmontar techo Volvo XR70 is removing the interior components that connect the roof liner to the vehicle. This includes the sun visors, interior lights, grab handles, and other accessories mounted on the ceiling.
Start by using a Phillips screwdriver to unscrew the sun visor bolts. Once unscrewed, gently pull them away from the ceiling and disconnect any electrical connections if your model has illuminated visors.
Next, remove the grab handles by prying off the plastic covers and unscrewing the bolts beneath them. Use the plastic pry tool to remove any trim around the lights or roof controls. For the interior lights, gently disconnect the wires to avoid damaging the electrical system.
Dismantling the Pillar Trims
Once the accessories have been removed, the next step in the desmontar techo Volvo XR70 is dismantling the pillar trims. These trims are the vertical covers that run from the ceiling to the vehicle’s floor and help secure the headliner.
Using the trim removal tool, gently pry off the pillar trims. Be cautious during this step; you want to keep the clips holding the trims in place. With the trims removed, the headliner will become more accessible.
Disconnecting the Sunroof (If Applicable)
If your Volvo XR70 has a sunroof, disconnect it before proceeding. Start by sliding open the sunroof and locating the screws or bolts that hold the sunroof assembly in place. Carefully unscrew these components and set them aside. You may also need to disconnect the electrical wiring of the sunroof if it’s motorized.
Remember to carefully handle the glass and other components to avoid damaging the sunroof during dismantling.
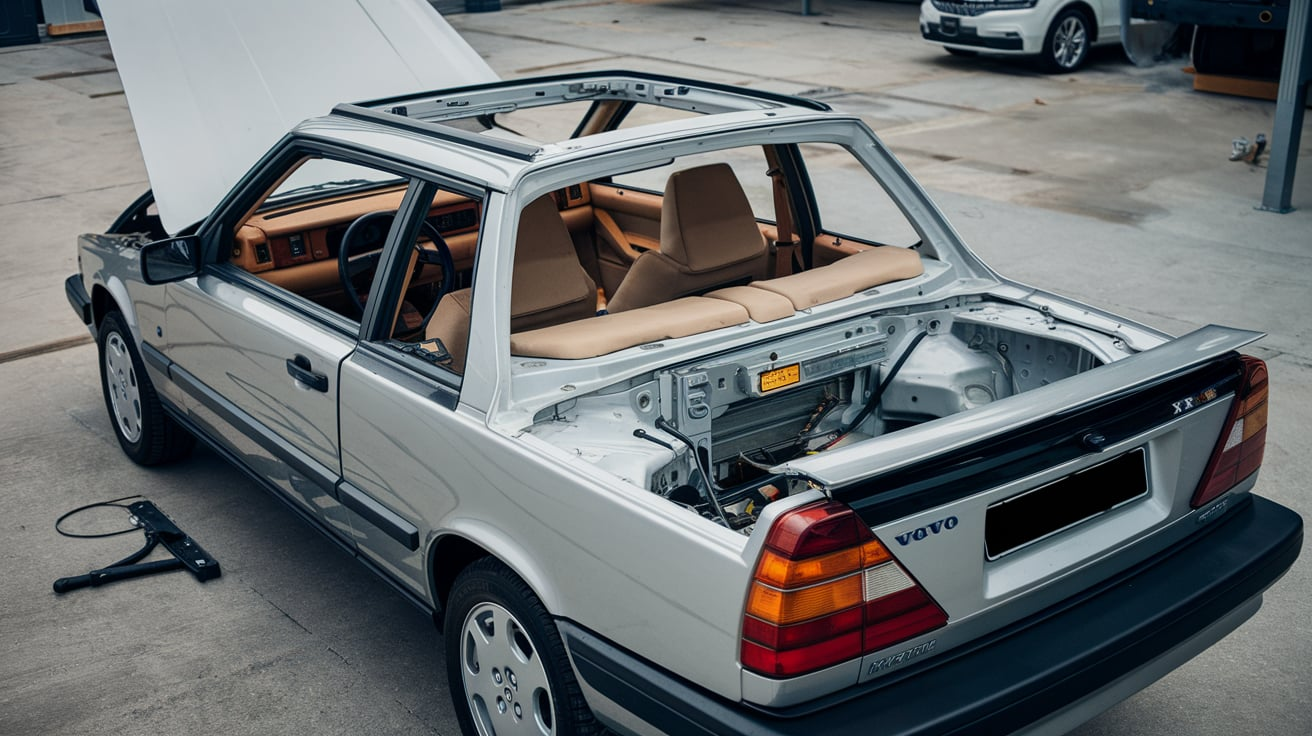
Lowering the Headliner
Now that the trims and sunroof components have been removed, the headliner can be lowered. This is one of the more delicate parts of the Desmontar Techno Volvo XR70, as the headliner is made of fabric or foam that can easily tear if not handled carefully.
To lower the headliner:
- Gently pull down on the edges to detach it from the roof.
- If you encounter resistance, use the trim removal tool to release any remaining clips.
- Lower the headliner slowly, making sure not to crease or damage it, especially if you plan to reuse it.
Complete Removal of the Headliner
Once the headliner is fully lowered, you can remove it from the vehicle. This can be tricky because of its size and the door openings of your Volvo XR70. Carefully maneuver the headliner through one of the more oversized doors or the rear hatch.
You’ve successfully desmontar techo Volvo XR70, giving you full access to the vehicle’s roof area. You can now proceed with any repairs, installations, or modifications you had in mind.
Reinstalling the Roof of Volvo XR70
- After completing your repairs or modifications, reinstalling the roof is the next crucial step. Essentially, it involves following the dismantling steps in reverse order.
- Begin by carefully sliding the headliner back into the vehicle, ensuring it’s appropriately aligned with the roof structure.
- Reattach the pillar trims and interior components, including the grab handles, lights, and sun visors.
- If you have a sunroof, reconnect the electrical wiring and bolt the sunroof assembly back into place.
- Finally, make sure all clips and screws are secured tightly to prevent any sagging or loose components.
Common Issues When Dismantling a Volvo XR70 Roof
It’s not uncommon to encounter challenges when desmontar techo Volvo XR70. Some of the most common issues include difficulty removing trim pieces without breaking the clips, struggling with electrical connections, and maneuvering the headliner out of the vehicle.
If you find yourself stuck at any stage, it’s advisable to consult the vehicle’s manual or seek professional assistance to avoid causing any permanent damage. Additionally, working slowly and methodically reduces the risk of breaking components during dismantling.
Tips for Success in Desmontar Techo Volvo XR70
- Be Patient: Removing the roof of your vehicle can be time-consuming. Patience is critical to avoiding mistakes.
- Use Proper Tools: Avoid using makeshift tools that could damage the roof panel or other components. Always opt for the appropriate tools.
- Label Screws and Parts: It’s easy to lose track of the tiny screws and bolts while dismantling the roof. Use labels or containers to keep everything organized.
- Handle Delicate Parts with Care: The headliner and trim pieces are often made of delicate materials that can break or tear easily. Take your time and carefully remove them.
Conclusion:
Learning to use the Desmontar techo Volvo XR70 can save you time and money, allowing you to perform repairs or upgrades independently. By following this guide and using the correct tools and techniques, you can successfully dismantle the roof of your Volvo XR70 and achieve the desired result. Whether addressing a sagging headliner or installing a new roof accessory, knowing how to dismantle your vehicle’s roof is invaluable for any car owner.
The process might seem daunting initially, but with patience and attention to detail, you’ll find that the Desmontar techo Volvo XR70 is entirely manageable. And once you’ve done it, you’ll have the confidence to take on other car-related tasks.